Within this workshop, we learned about some of the more advanced features of Adobe Photoshop, and how utilisation such tools and methods can be beneficial when working on an image or a document in practice.
Adobe Camera Raw Images:
These are known as ‘a digital negative’, and capture a far greater range of colour and information than you would normally see within a standard JPEG file type. Saved as a 16-bit colour files, these documents take up far more storage than your standard 8-bit colour web graphics. This enables for stronger digital manipulation, where depth and colour can be pulled forward far more effectively than any other standard image to reveal detail otherwise invisible to the naked eye.


An example of this, both of the visuals above have stemmed from the same image. The first is the original, unedited raw image. The second shows far greater detail following alteration of image settings. To be specific, amounts of shadow have been reduced, revealing beautiful detail within the middle of the flower, otherwise unseen in a standard image.
These changes have been made in a non-destructive editorial way, meaning that the original image hasn’t been changed or destroyed in the manipulation process. This is due to the options Adobe Photoshop presents when working with a raw image file, where justifications can be made to the image, but are then saved in a separate file displaying the code for such change. Providing these files are located together, the image will find and apply the instructions noted within the computerised code, saved as an XML file. This means no changes have been made directly to the original file, so nothing has been changed, altered or destroyed. See an example of the saving methods below.

This part of the workshop has taught me the benefits of working with raw images; raw images enable for greater depth and detail to be captured within image, as well as the ability to edit in a non-destructive method, preserving and protecting primary material.
Mask Tool
In this workshop, we also looked at the select and mask tools Photoshop offers. These allow for more specific selections within an image, with clean-cut edges and more refined regional clarity.


Presented here are both the original, raw image, as well as the finalised image. To achieve this result, I used photoshops ‘select’ then ‘colour range’ tool, where I altered the fuzziness and range to achieve a selection most accurate to cover the full sections of the sky. This was difficult due to the fact that the sky has so many tonal values, and so these techniques made this selection far more achievable. A colour picker tool was applied here to select an average seen within the sky, allowing for the selection to be completed at greater ease with higher accuracy, and therefore with greater, more refined results.
Workshop Part 2: Illustrator Introduction, The Wave

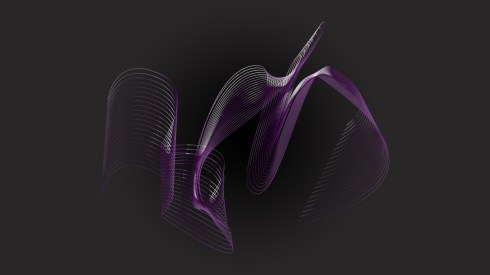
As an introduction to illustrator, we learned how shapes can be created before being linked with a Photoshop document. For this task, we created a path using the pen tool. This path consisted of a series of anchor points which caused the image to follow a motion based direction. This path was then duplicated numerous times to project the impression of a vector-based complex shape. The anchor points were then manipulated slightly to heighten drama and induce stronger fluidity within the image.
Following creation of this shape, this illustrator content was then linked with Photoshop. Linking an Illustrator document with a Photoshop file entails for editorial amendments to be made to the original Illustrator document, which will automatically update within Photoshop. This can be useful in a professional sense, where changes can be made easily, without having to duplicate such effort twice through re-linking, etc.
Using photoshop as a final platform for aesthetic content withholds certain advantages. For instance, colour and background effects can be easily applied to the document, strengthening the overall visual of the image. Multiple links can be made to numerous illustrator documents, meaning that content can be updated externally, keeping the Photoshop document up-to-date easily, as intended and required by the designer.
Documented below is the result of my Photoshop file, linked to my Illustrator based vector creation.


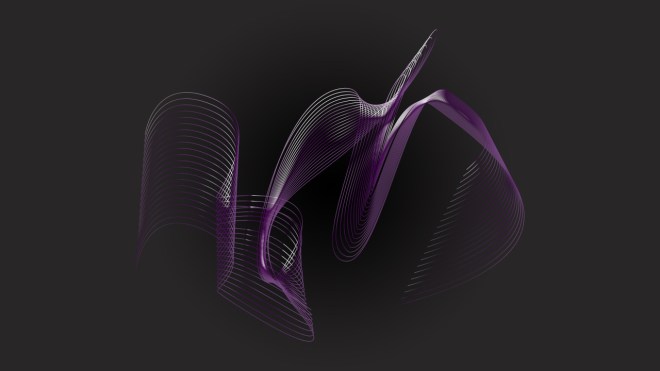
This Illustrator content has been linked as a vector smart object, which I then applied a layer mask too. This enables for none destructive editing where no editorial manipulation is being implemented directly upon the image. However, these edits heighten drama within the piece, refining style and aesthetic nature for visual effect.
This is my final image created within this workshop: